I am a bit of a commitment phobe when it comes to putting holes in the walls. It’s hard enough to find the right piece of art for your home (here are a few of my favorites if you’re on the hunt!), but once you get it home, it’s even harder to decide just where to hang it, much less to know how to hang art the right way! I have been known to let art hide in closets and in dark corners of the house for months, waiting for the perfect spot and the courage to finally put it on the wall. Lol! I’ve walked into one too many homes, restaurants and offices with art hung in a spot that just looks odd to me, and I don’t want to be that person! 😉

So, how do you hang art the right way? Believe it or not, there a few simple tips that will make hanging art the right way easy and give you perfect results every time! Don’t miss this post with foolproof tips on getting that art on the wall once you have the perfect spot!
How to Hang Art the Right Way
With the invention of command strips I’ve gotten a lot more brave over the last few years when it comes to actually getting art up on the walls. They are amazing and a lifesaver! No holes! Whether you are hanging art with command strips or nails, here are my 3 tried and tested tips how to hang art the right way.
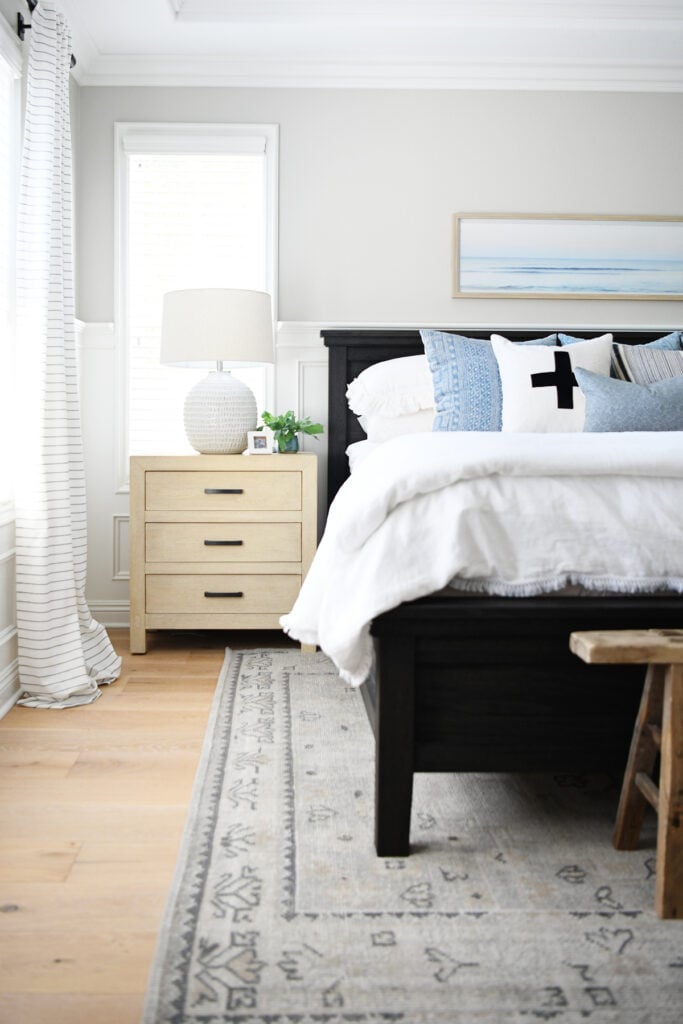
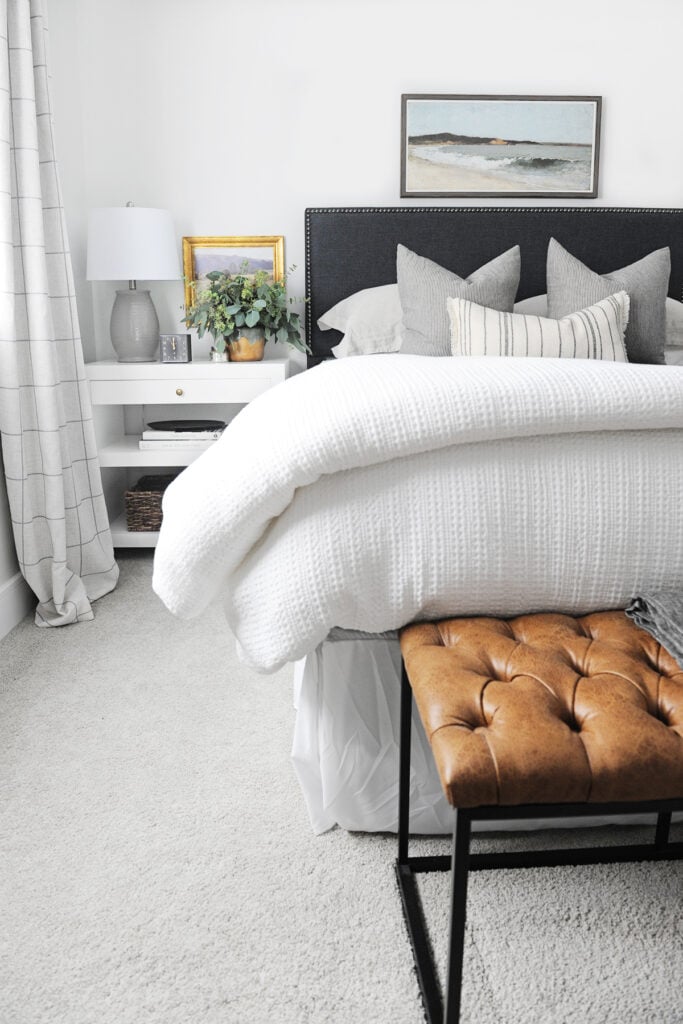
57 is the Magic Number – When you are hanging art, you want the center of your art piece to be 57 inches from the floor. For most people, this is eye level. You don’t want to have to strain to look at the art. You want it front and center.
This rule applies to hanging two pieces or even a grouping of 4 pieces. Make sure that the middle of your grouping hits at that magic number of 57 inches.

Make a Template – I am a very visual person. (shocker I’m sure! ;)) When you are hanging art and unsure of where you want to put it, get out some paper bags, a pencil and some painters tape. Trace the shape of your artwork onto the paper bags and cut it out. Use that template to tape it up on the wall and make sure you love it in that spot before you put a hole in the wall. This works particularly well when you are hanging multiple pieces or a gallery wall.

Even Spacing – Make sure that when you are layering art pieces or creating a gallery that there is even spacing between the frames. I like to leave between 1.5 – 3 inches of space between frames, depending on the size of the artwork.

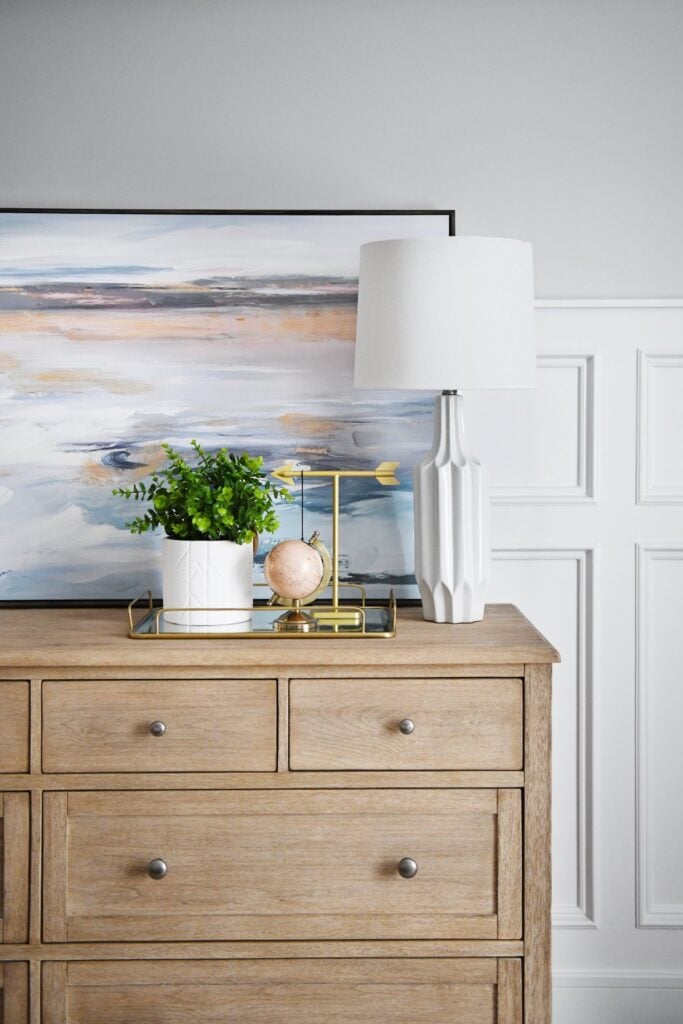
When I’m hanging art over a piece of furniture like a console table or bed, or over a fireplace mantel 4-6 inches is a good go-to, but depending on the room and placement, I will do as little as 2 inches. This even spacing will keep things looking cohesive.

Here are a few of my favorite frames for hanging your art right now…

Not ready to commit to actually hanging your art on the wall? Here are a couple other design tips and ideas for displaying art in your home:

Shelves and picture ledges and easels make great places to display your art! I use easels all over the place!

Here are some of my favorite easels:
Built-ins, bookshelves, or even a dedicated picture ledge are all great places to display your art that allow you to change out pieces or styles and rearrange them at will.

Lean it – One of my favorite ways to have my art look intentional, but also allows me to continue to be non committal. 😉
Lean your frame against the wall, on a shelf, against the fireplace…anywhere! You can layer leaned art pieces over those that are hung too.
Here is some of my favorite art right now. Everything from DIY Print at home to high quality framed prints. Something for every wall! 🙂
Remember to check out this post with foolproof tips for getting that art up on the wall now that you know where it should go! 🙂
Looking for more how-to’s and design inspiration? Be sure to check out our design gallery here for lots of great tips and ideas.
Thanks for visiting the blog! Come and join me on social to follow along with all of my Design, Travel, DIY, Shopping Deals and other posts. You can find me here:
Instagram | Pinterest | Facebook | Like to Know It
Have you signed up for our newsletter? Don’t miss out on getting all of the latest from Pink Peppermint Design delivered right to your inbox. Click here to subscribe to our newsletter and get access to our entire library of over 50 free printables.
Have a great day!
Tammy

Tammy
Creative Director at Pink Peppermint Design
- Coastal Bedroom Ideas for a Modern Beach Bedroom
- Happy Valentine’s Day Printable : Ex-Straw Special
- The Best Cheesy Spinach Artichoke Party Dip Recipe
- Cute and Sophisticated Beach Themed Bedroom Decor
- Awesome Boy Bedroom Ideas
- Matching Lighting Sets : Should Light Fixtures Coordinate Throughout the House?
- Ice Cream Sundae Party Ideas : Ice Cream Party Food
- Cute DIY Halloween Movie Night Party Ideas
- The Best DIY Butter Slime Recipe Made With Clay (No Borax)
- Master Bathroom Remodel Ideas : Master Bathroom Before and After
- The Best Easter Basket Ideas for a teenage girl (and tweens)
- Remodeling Your Home’s Floor Plan : Making an Older Home Feel New
