With fall entertaining around the corner, I have started thinking about fun ways to decorate the dining room table. I love a good flower arrangement, but sometimes it’s fun to come up with what to put in a vase other than flowers. It’s even more fun to come up with unusual flower arrangement containers and figure out how to turn everyday items into a vase.
I often wander the aisles at HomeGoods and see SO many cool vase alternatives. Since many everyday items were not made to be water tight, there’s just a little bit of a trick you can use to turn your everyday items into a vase and use all those fun things you find that spark your creativity, in a new way.
I found this cool rustic looking container at HomeGoods and brought it home knowing it would make the perfect fall centerpiece. I love to bring the outdoors in every chance I get. In the fall there are so many pretty branches and greens outside that make gorgeous arrangements. The best part is that you can scavenge for them in your yard or neighborhood. If you can’t find any in your yard, you can find bunches of greens at the grocery store that are inexpensive. Not only are they cheap, but they last a lot longer than flowers and you don’t have to be a florist to make them look great! This post contains affiliate links.
HOW TO TURN EVERYDAY ITEMS INTO A VASE AND MAKE A PRETTY CENTERPIECE
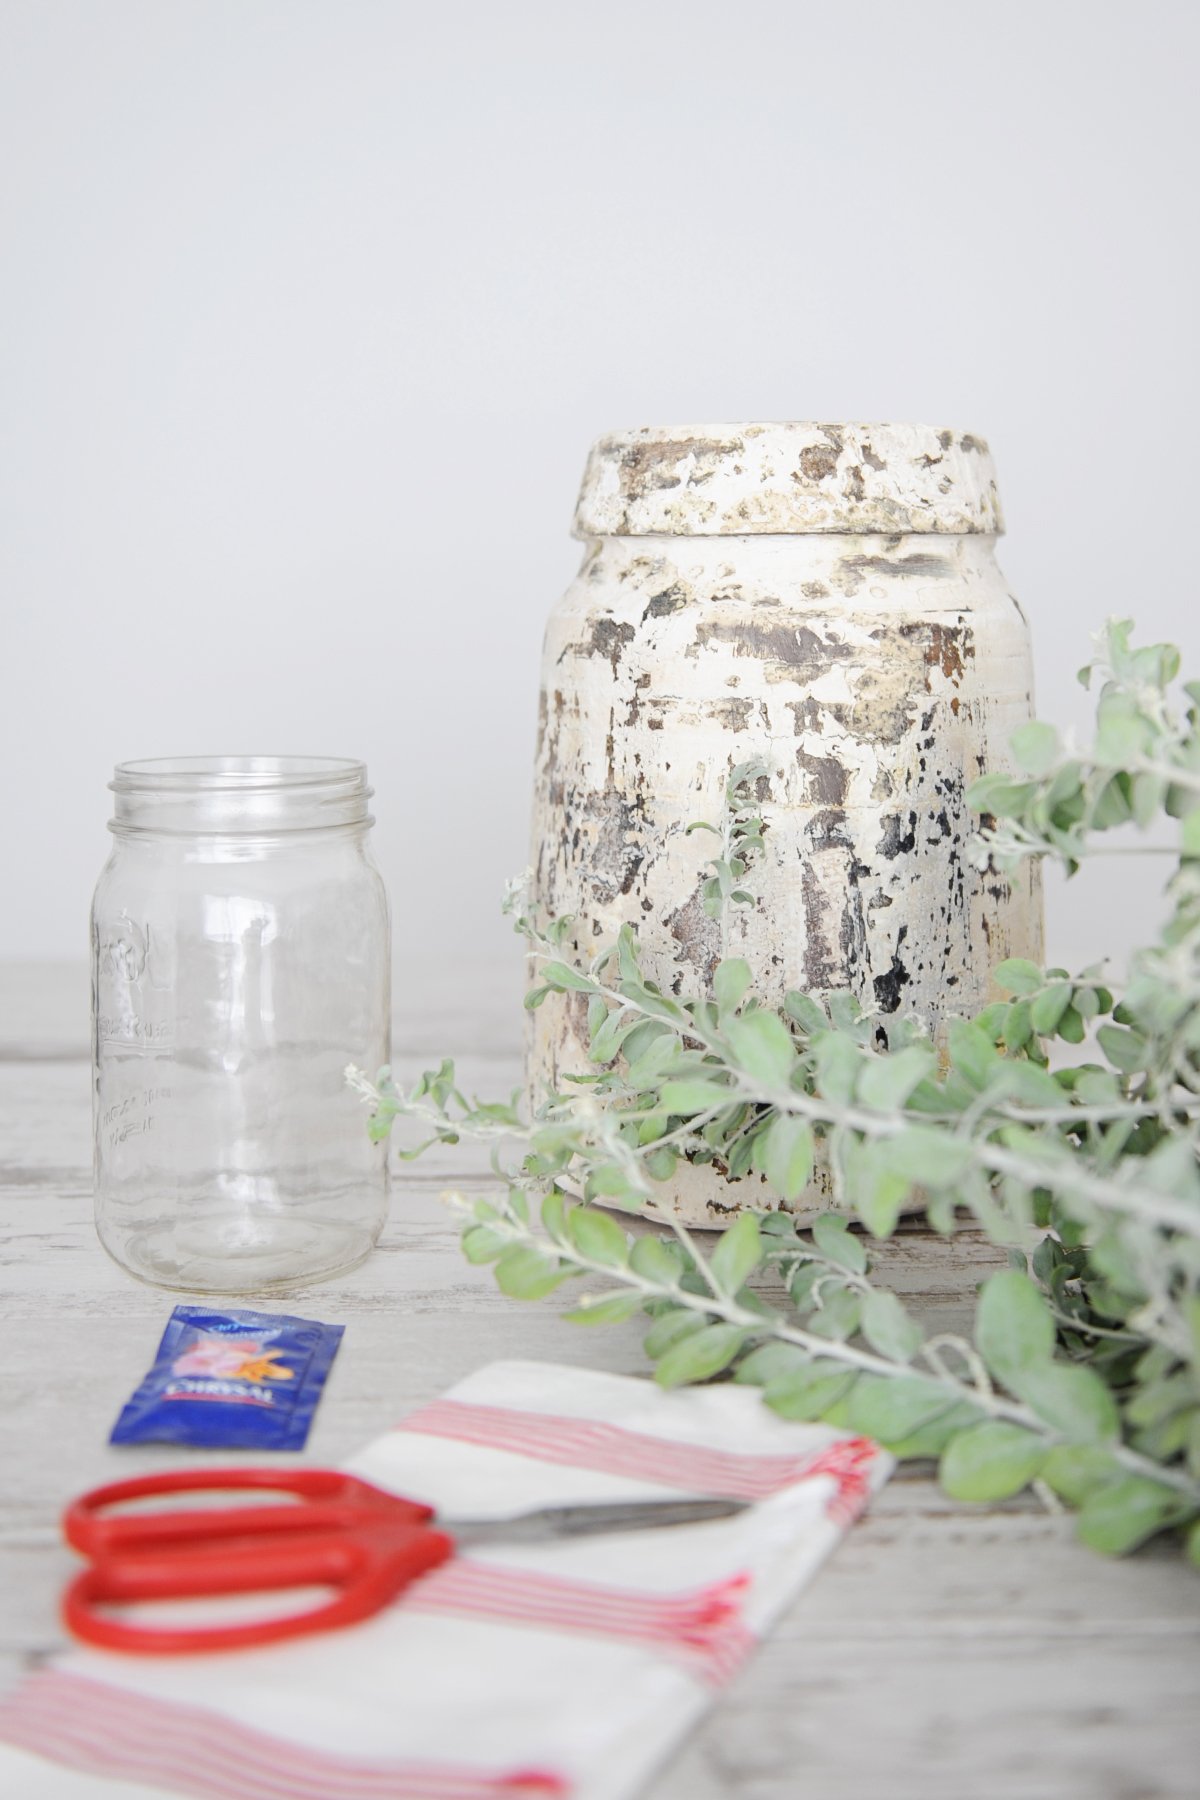
SUPPLIES NEEDED
- opaque container
- jar or glass that fits inside your container (as big of one as you can fit)
- water
- floral shears (I am using some almost identical to these for this project, they are specifically made for floral arranging and for light weight pruning, these are awesome for something even more versatile)
- flower food
- greens
HOW TO PREP YOUR VASE
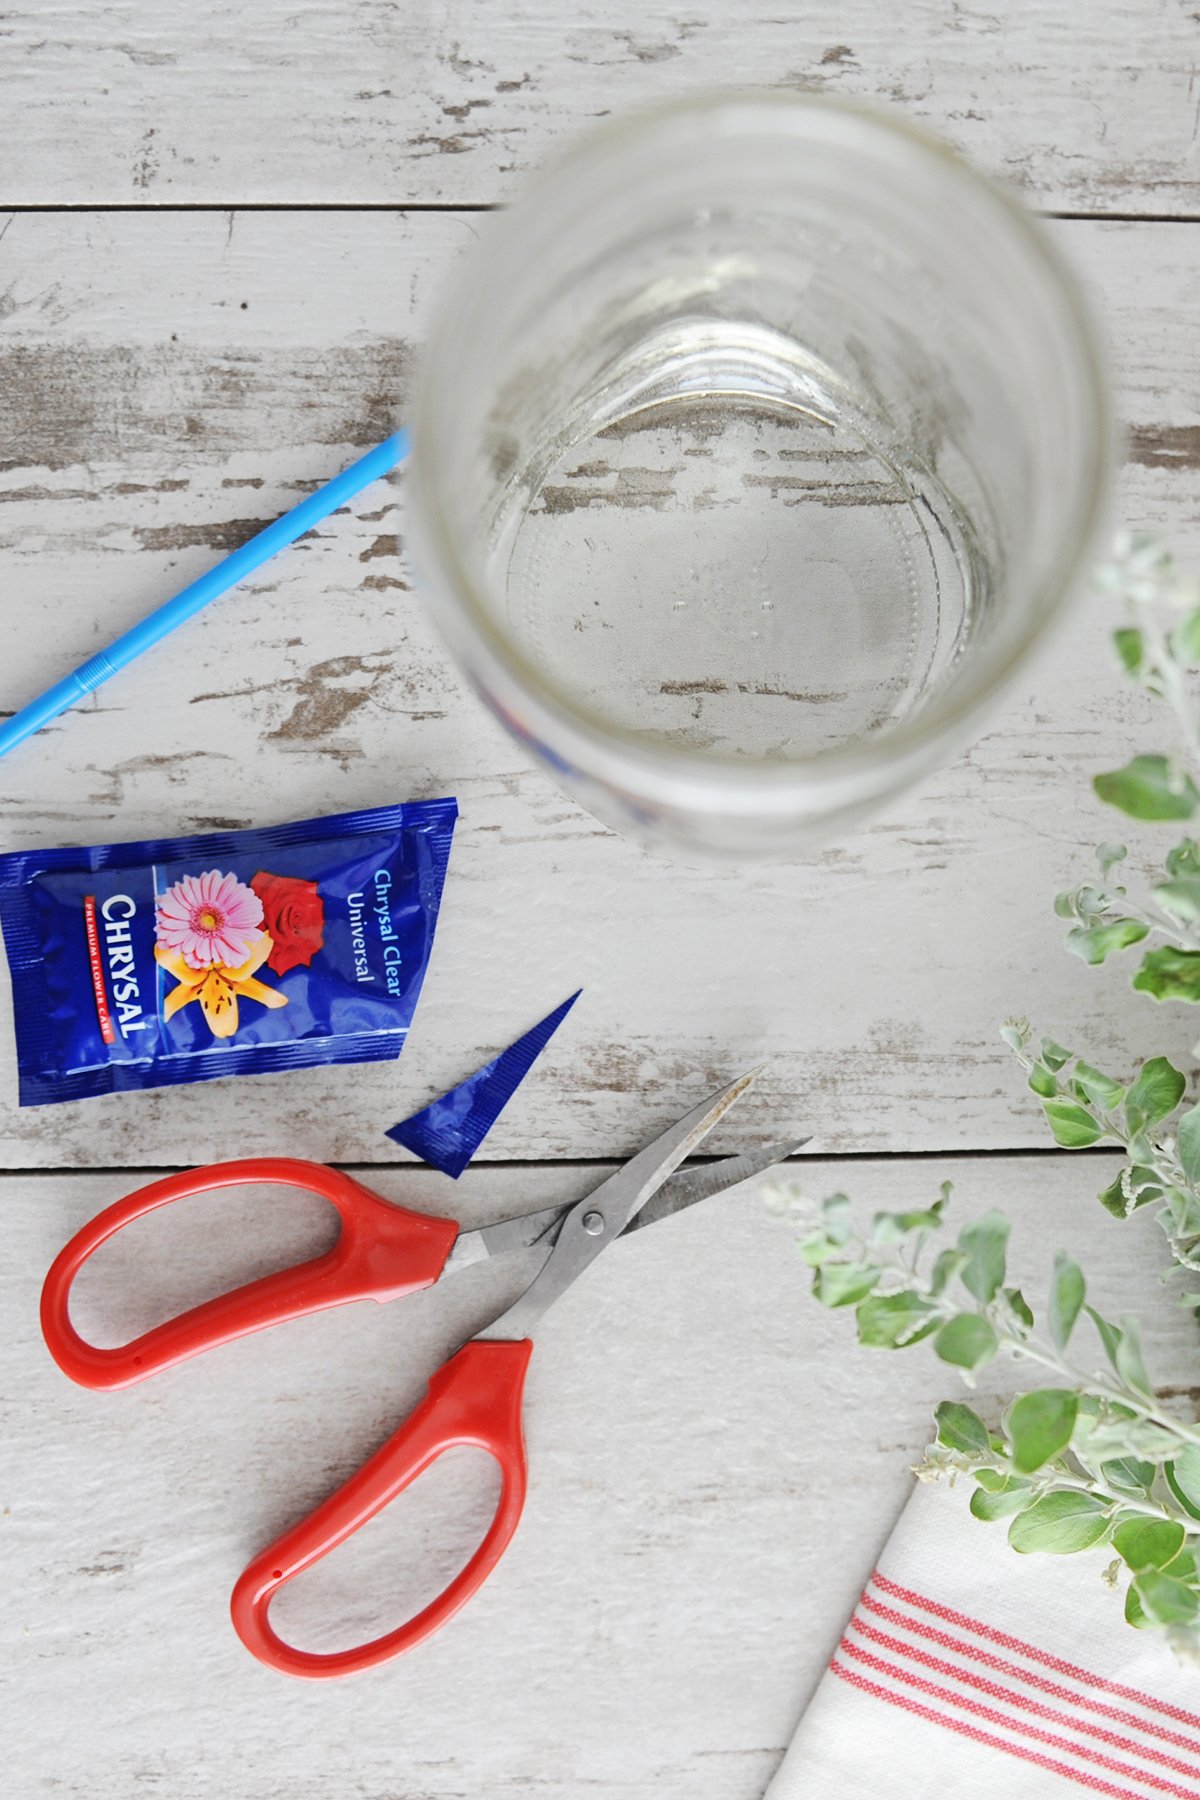
The real secret to turning everyday items into a vase, is to figure out how to make the item you want to use, waterproof. In this (and most cases) it is as easy as putting a water tight container inside the container you would like to use. In this case, a quart sized jar is the perfect size to fit in our rustic HomeGoods container. Fill the jar with clean water up about 2/3 of the way so that you are leaving room for the greens. As you add them to the water, the water level will rise.

Add your floral food to the water and stir until dissolved. Then, place your jar full of water into your container.
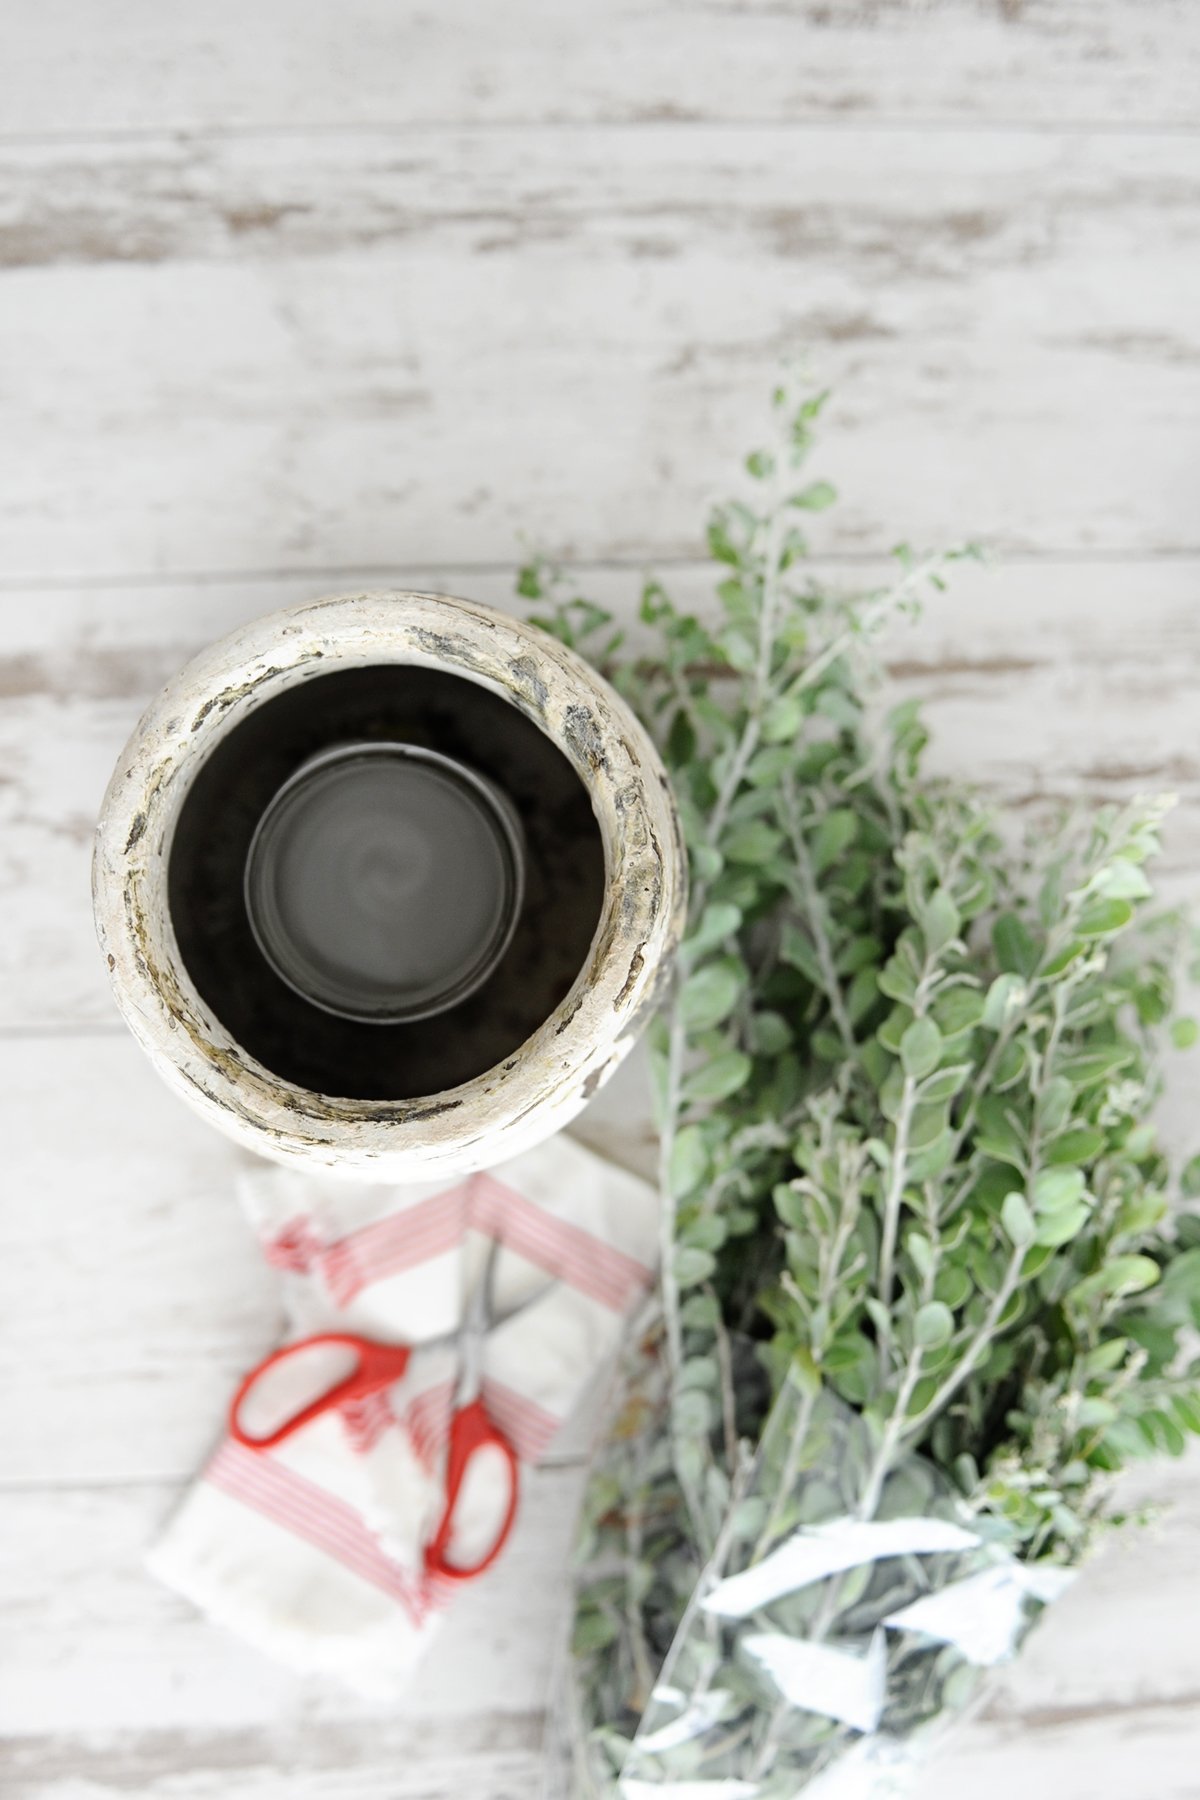
HOW TO PREP YOUR GREENS TO MAKE A CENTERPIECE
In order to keep your greens as healthy as they can be for as long as possible, there is just a little prep work to do. Leaves on the stems of your greens that will sit in the water will quickly become mushy and make the water an unhealthy environment for your stems, so you want to clear them off before you put your stems in the water. For example, on this branch, using my floral shears I will trim off the lower two little branches that are near the bottom and strip the bottom of the branch of any excess leaves.
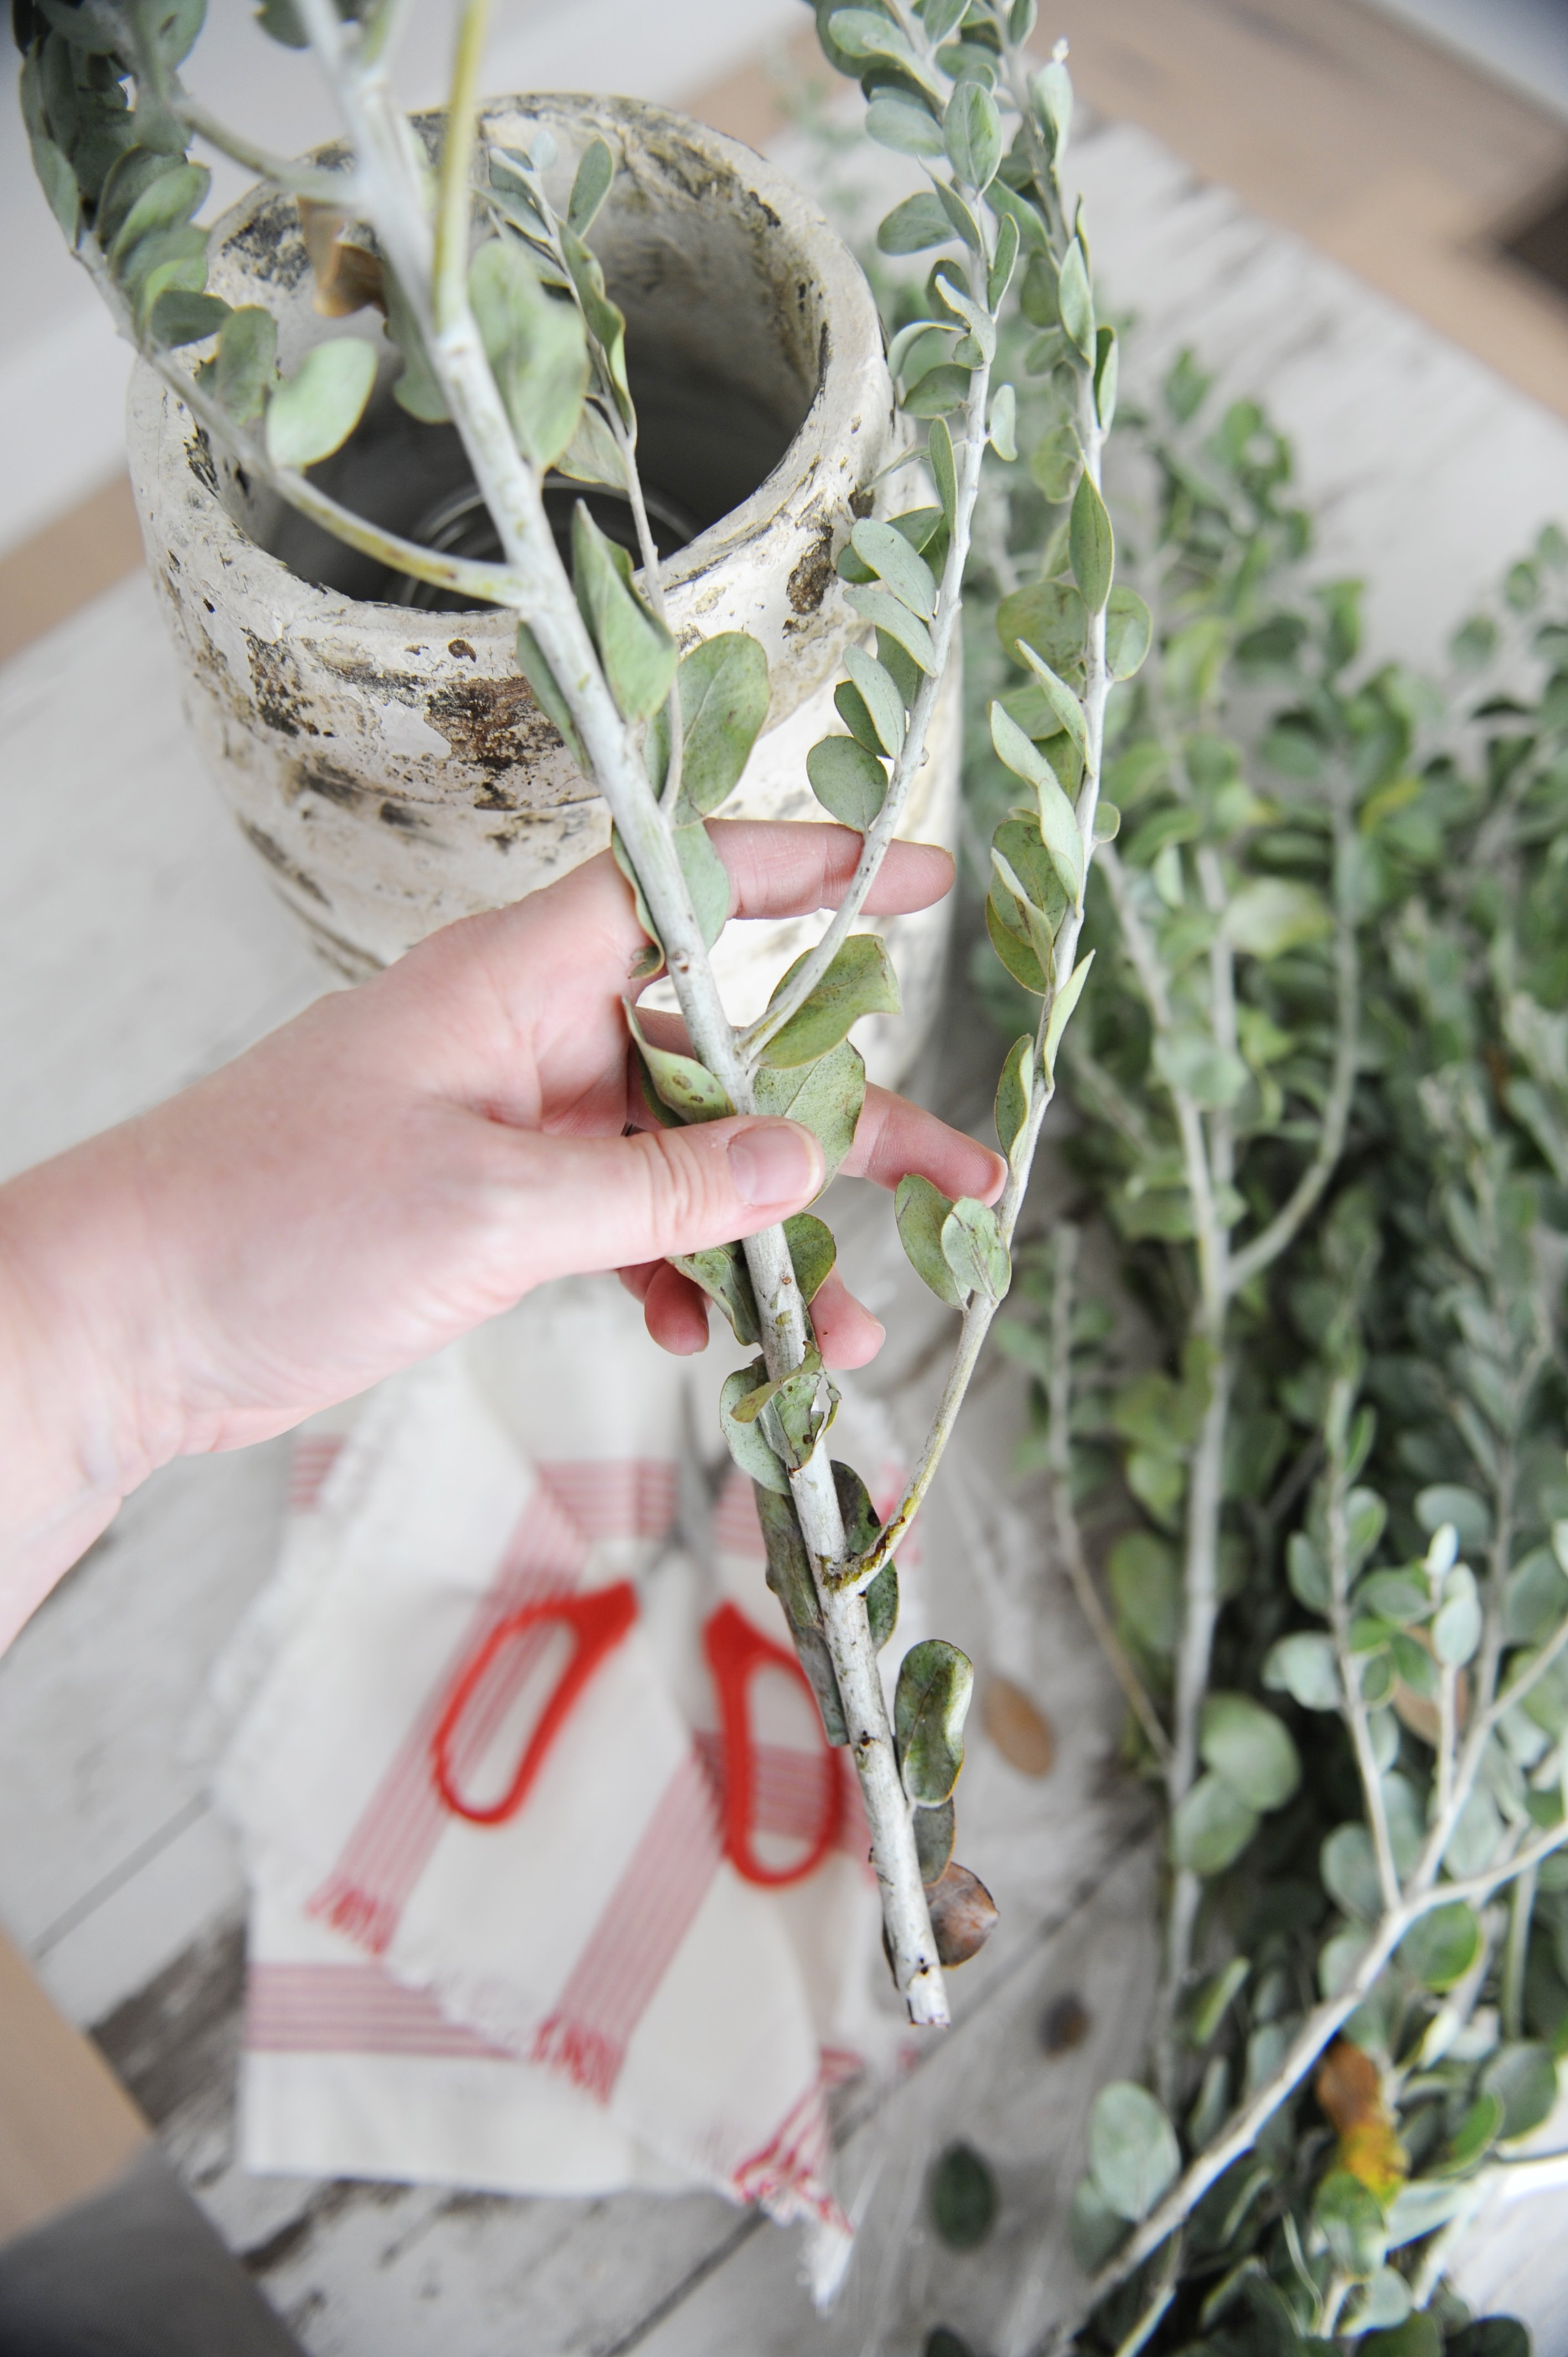
I will also trim a bit off of the bottom of the branch to give it a chance to drink more water. In order to figure out how much to trim off, I measure it against my container and figure out how tall I want each branch to be.

This process leaves me with a clean dry stem that will be able to drink the water I have prepped for it. Once you have completed this process, insert the prepped stems and branches into the jar in your container.
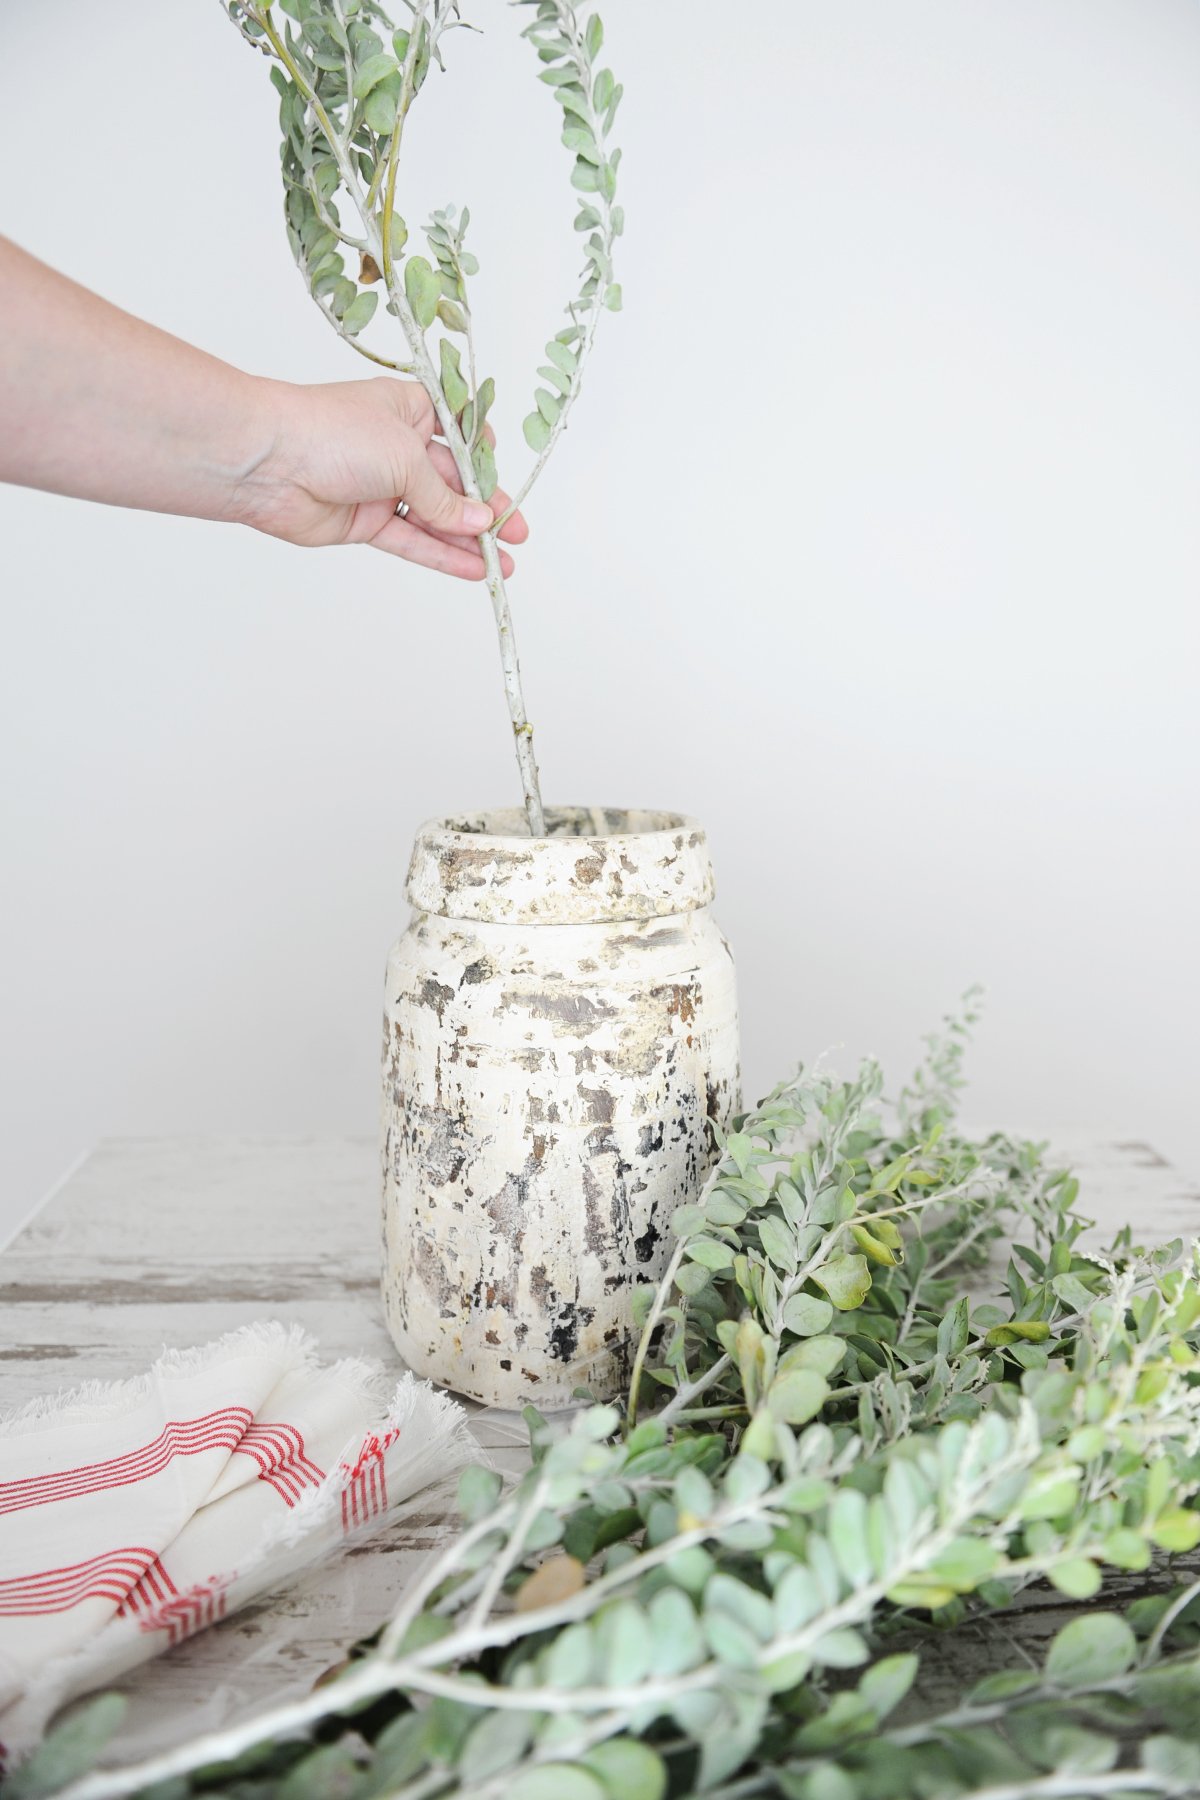
Arrange each of the branches in your container that is now a super cool vase and you will have a gorgeous arrangement and perfect centerpiece.
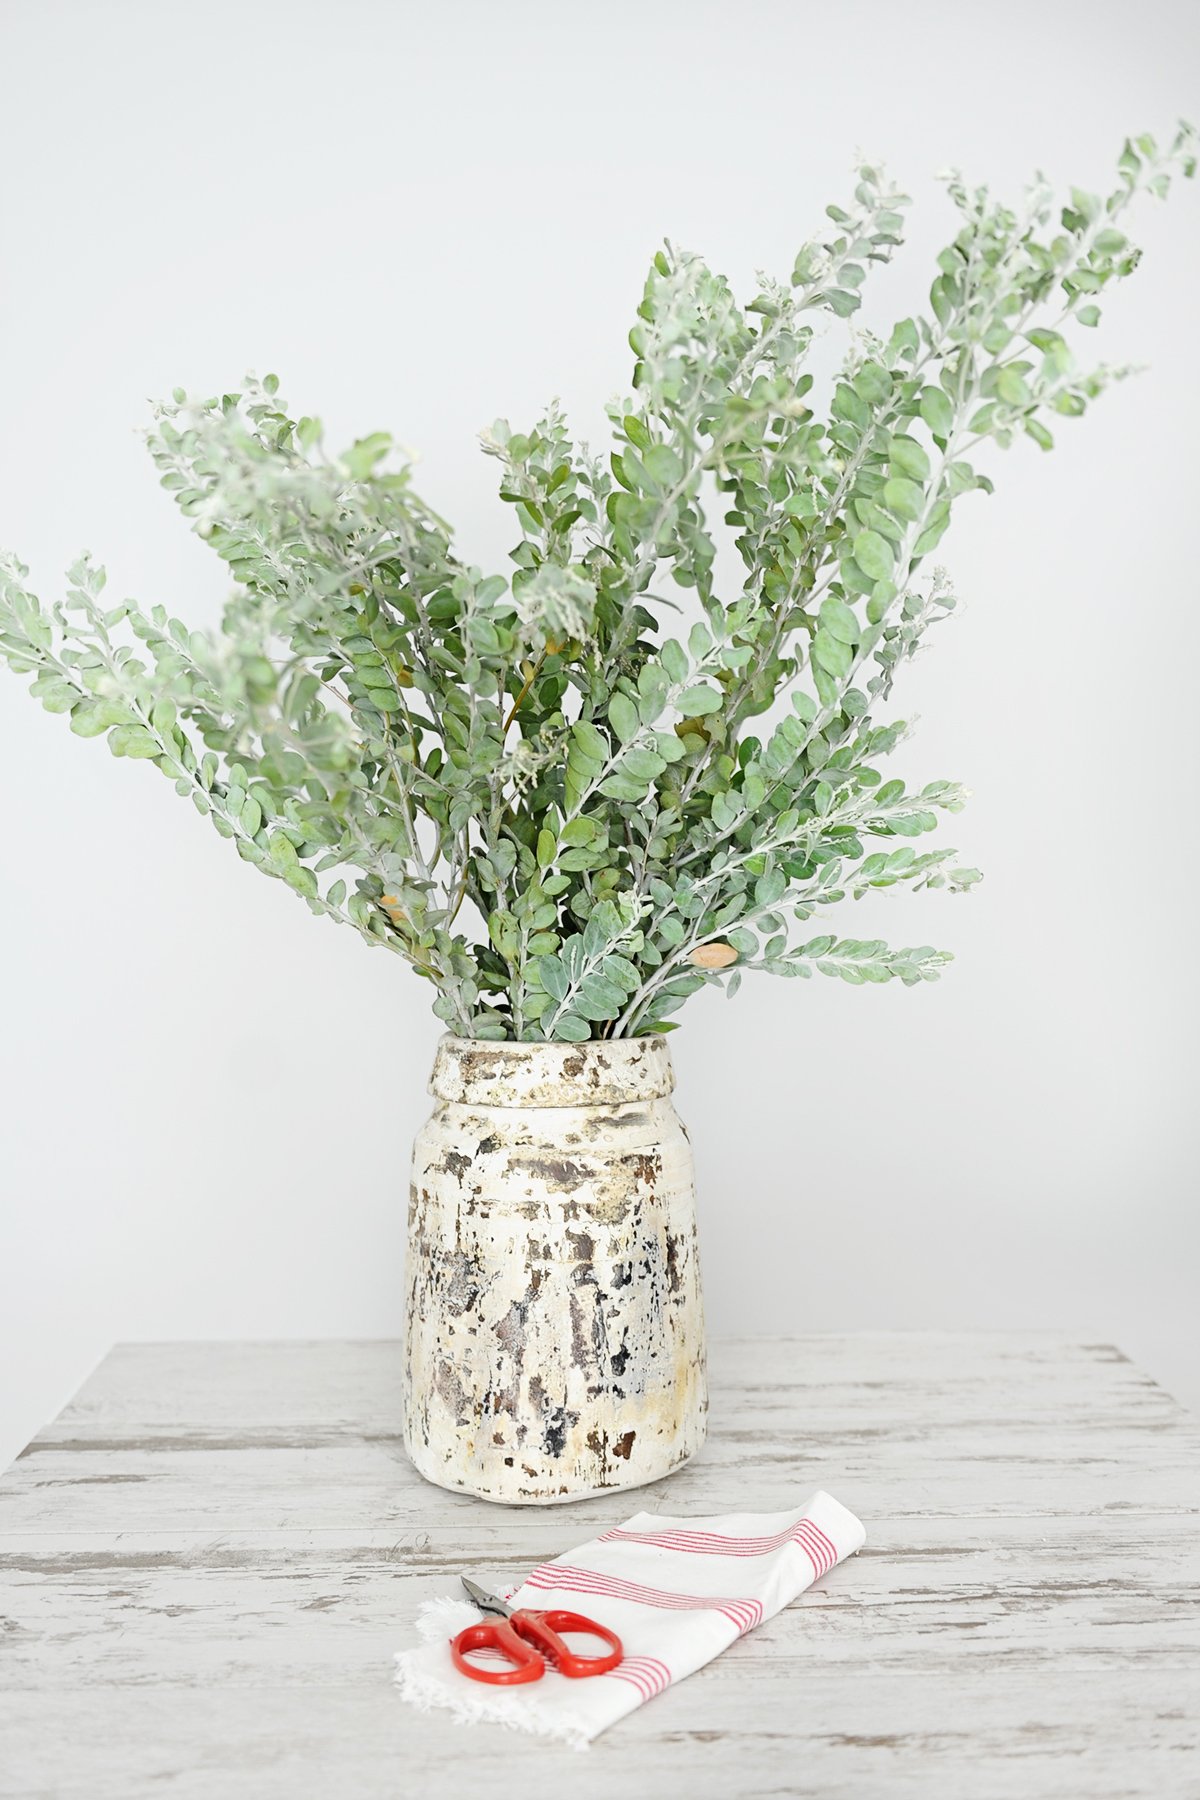
I used my new vase here on our dining room table. I paired it with two pretty pre-made floral and pumpkin decorations I found at HomeGoods.

I rounded up a few more things at HomeGoods like these green napkins and gold silverware to compliment the beautiful napkin rings. I wanted to add a little something extra to the place settings, so instead of using the napkin rings in a traditional way, I made little arrangements of greens for each place at the table and used the napkin rings to wrap around them. I love the way it turned out! 🙂 . I hope you are feeling inspired to turn everyday items into a vase at your home and make a pretty, simple DIY centerpiece.
If you are gearing up for dinner parties and entertaining don’t miss my post on The Best Places to Find Affordable Dining Chairs. Seating is always at a premium this time of year! We never seem to have enough seats for our guests! 😉
If you are planning a party, don’t miss our Entertaining Gallery and DIY Posts, full of helpful tips and useful information for your celebrations.
Have you signed up for our newsletter? Don’t miss out on getting all of the latest from Pink Peppermint Design delivered right to your inbox. Click here to subscribe to our newsletter. 
Happy entertaining!
Tammy


