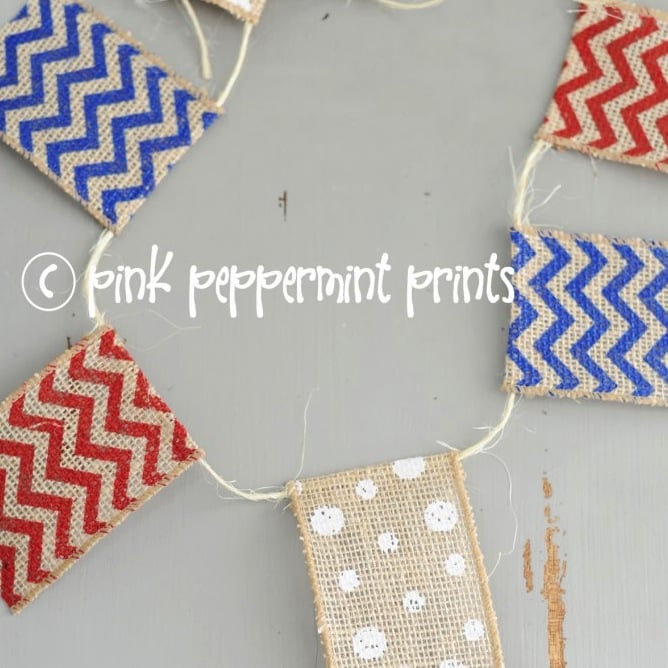
I was at Hobby Lobby yesterday and ran across these darling printed burlap wired ribbons. They were begging to be made into a banner, so since they were 50% off I brought them home with me. 😉 This is one of the easiest things you can make…we’re talking under 30 minutes, and it is SO cute!! You can make it with any wired ribbon (probably any ribbon, but I use wired because it’s easier to manipulate). Here’s what you’ll need:

twine, a glue gun, ribbon of your choice, scissors
1. Cut 4″ lengths of your ribbon (I used three different patterns and wanted my banner to have 9 pennants, so I cut three 4″ pieces of each ribbon, this can be adjusted to make any size you would like, of course)
2. Cut your twine (I used a 6′ piece of twine, leaving 2′ on each end so that I had room to tie it, you can obviously adjust it to make it any size/length you would like)

3. Lay out your twine and set your pieces of ribbon on it in the order you want them to appear on the banner, leaving an equal amount of space between each pennant. I left 1.5″ between my pennants.

4. Fold the top 1/2 inch of each piece of ribbon over the twine and pinch it so that the wire helps it to stay in place on the twine, then glue it in place.

5. Trim the bottom of each pennant if you like that look, otherwise leave it straight.

6. Hang and enjoy! 🙂

I’d love to see what you create! Check out our gallery of all of our DIY tutorials for more fun, easy ideas here… DIY Tutorial Gallery
Have a great day!
-tammy

Tammy
Creative Director at Pink Peppermint Design
- Happy Valentine’s Day Printable : Ex-Straw Special
- Middle School Free Printable Valentine’s Ideas : Put a Ring on It
- Free Halloween Printable Tags for Treat Bags & Gifts
- Pretty Christmas Kitchen Decor Ideas Home Tour
- Legacy Box : Cost, Review and How it Works
- DIY Disney Costumes : Easy Mary Poppins Costume
- How to Make Fruit Decorations : An Easy Strawberry Topiary
- Fun and Easy DIY Mustache Straw Toppers
- Easy DIY Spider Wreath for Halloween
- 12 Bloggers of Christmas with Balsam Hill : Our Farmhouse Christmas Tree
- Make this Easy and Cute Valentine Pink and Red DIY Candy Gift Box
- Entertaining: Fun Ideas for Hosting a Pitch Perfect 2 Movie Night and Karaoke Party